Skip to content
POURCRAFT BAR

ICED COFFEE

Espresso Tonic

Three parts cold tonic to one part espresso, layered rather than mixed, finished with the oil off an orange peel.

  • 3Tonic water71%6 oz, very cold
  • 1Espresso24%2 oz
  • 1/4Syrup6%1/2 oz, optional
Ice
One large cube
Glass
Highball, 10–12 oz
Serves
1
Garnish
A wide strip of orange peel, expressed and dropped in

Ingredients

Batch size

1 serving
  • 6 oztonic water, straight from the refrigeratorSwap: Plain soda water, which makes a drier drink and needs the syrup
  • 2 ozespressoSwap: 2 oz cold brew concentrate, for a rounder and less sharp version
  • 1/2 ozdemerara syrup
  • 1wide strip of orange peelSwap: Grapefruit peel, which is sharper and works well with a dark roast
  • 1large ice cube

Method

  1. Chill the glass and the tonic properly

    Carbonation holds far better in cold liquid than in cool liquid. Tonic that has been out of the refrigerator for five minutes will lose most of its bubble the moment it meets ice.

  2. Ice, then tonic, then syrup

    Pour the tonic down the side of the glass at an angle, the way you would pour anything carbonated. Straight down the middle costs you a noticeable amount of the fizz before the coffee is anywhere near it.

  3. Float the espresso over the back of a spoon

    Espresso is denser than tonic and will sink on its own, but it sinks in a controlled way if it arrives slowly. Poured fast, it punches straight through and mixes, and the two-tone look is gone.

  4. Express the peel over the surface

    Hold the strip skin-side down a few inches above the glass and pinch it. The oil that comes out is what you smell first, and it is doing more for this drink than the syrup is.

  5. Serve without stirring

    It is meant to be drunk through the layers, bitter and bright at the top, sweeter and rounder toward the bottom. Stirring it produces a perfectly reasonable but much less interesting drink.

The one thing that ruins it

Pouring the espresso in first and the tonic on top. Tonic hitting coffee foams straight over the rim, and you lose the layer and roughly an ounce of the drink with it.

Tools you actually need

If you need one

01Fits the most drinks
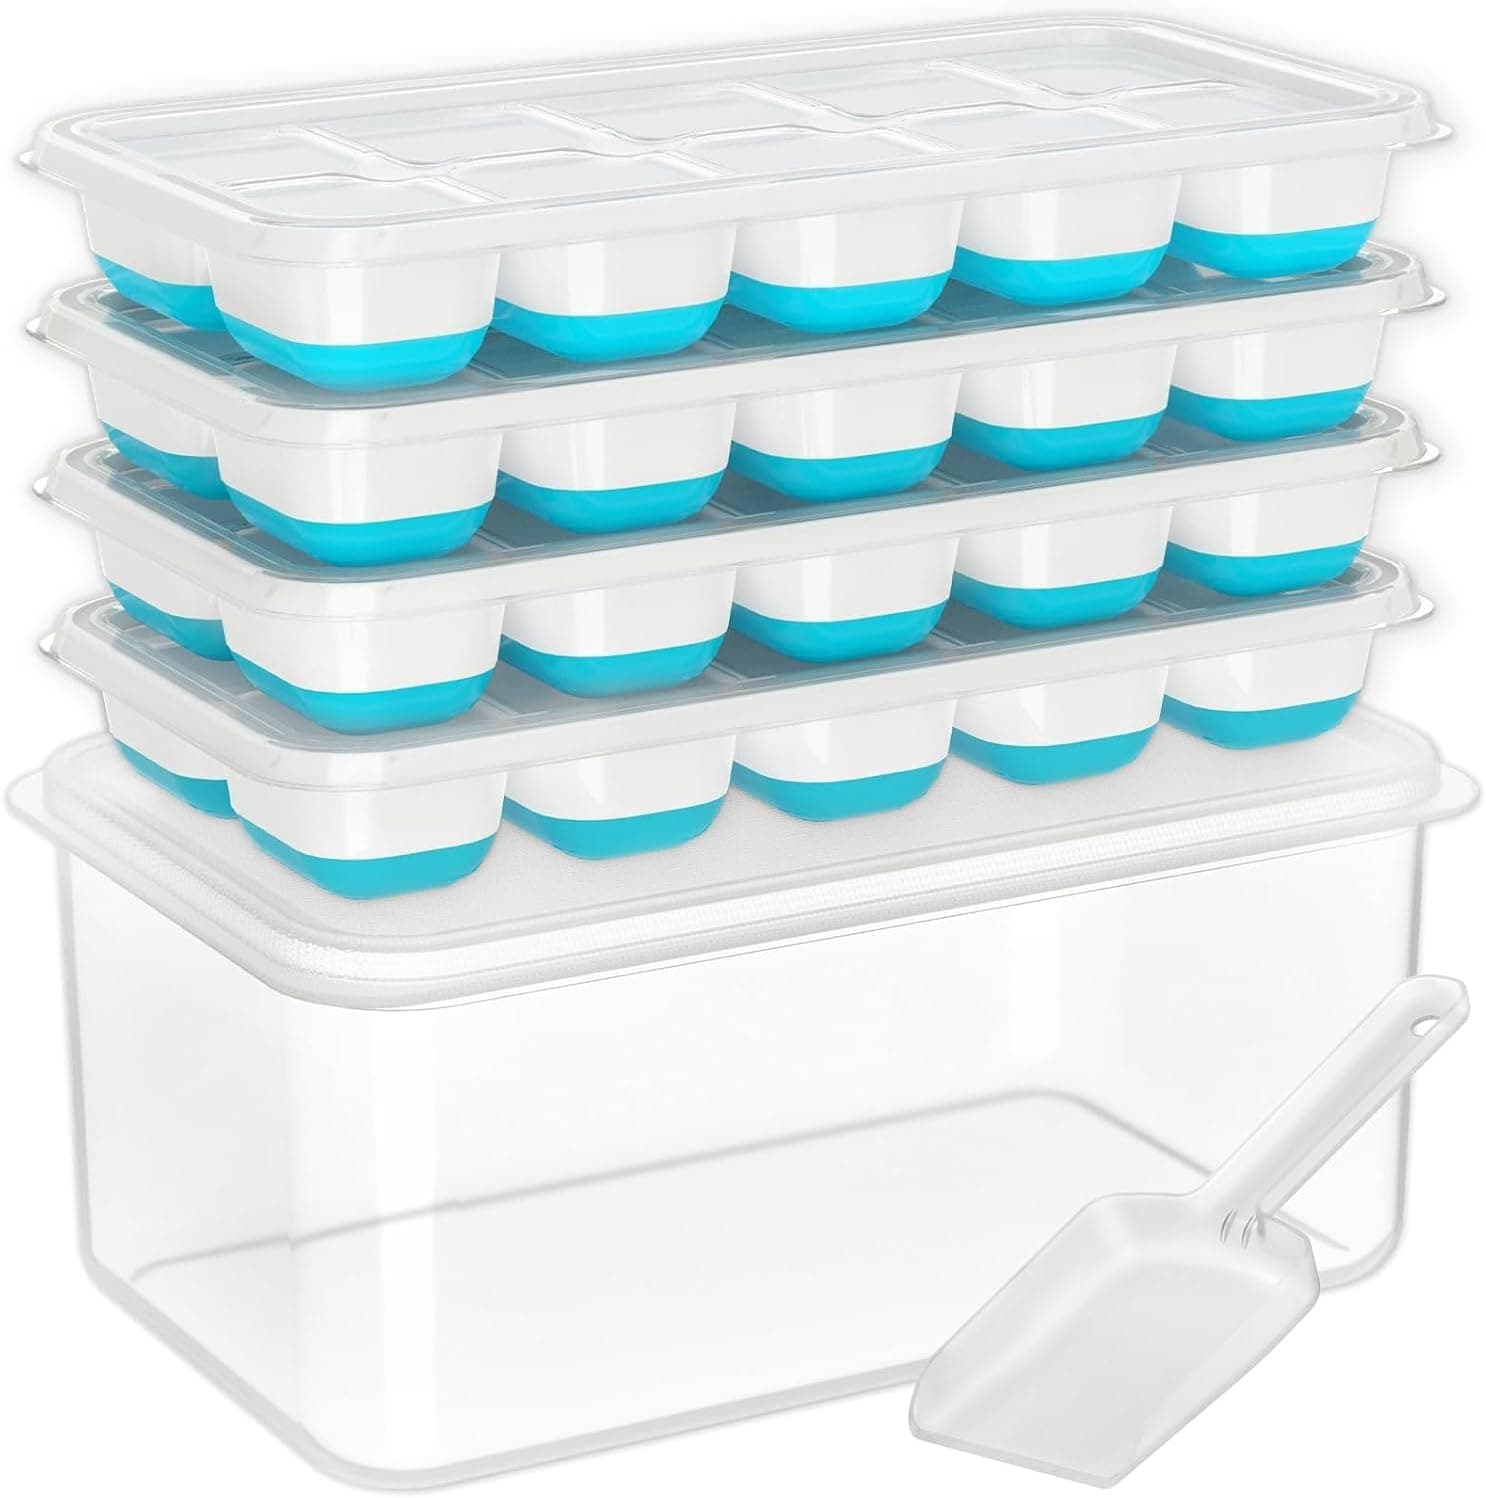
DOQAUS Ice Cube Trays with Lid & Bin, 4-pack

DOQAUS

DOQAUS Ice Cube Trays with Lid & Bin, 4-pack

Four silicone trays with lids plus a bin and scoop, producing the standard cube that ten of the eighteen recipes on this site call for — more than large cubes and pebble ice combined, and eleven once you count the iced latte that takes either. Four trays plus a bin is also what makes a rotation possible, and freezing time rather than tray count is the real constraint on a home bar.

Best for
The default ice for this site — iced coffee, tea, lemonade, sodas, agua fresca
Key spec
Silicone, stackable with lids, bin and scoop included
  • Standard cubes suit ten of the eighteen recipes here, and fit a lidded to-go cup
  • Four trays keep a rotation going, which matters because a fill takes hours
  • Lids let the trays stack and keep freezer smells off the ice
  • The bin frees the trays to be refilled instead of storing finished ice
  • Standard cubes dilute faster than a large cube in a slowly sipped drink
  • Silicone trays flex, which makes carrying a full one to the freezer awkward
  • Four trays plus a bin needs real freezer-drawer space
View on Amazon

Technique behind this drink

Make it ahead, or batch it

Peels can be cut a couple of hours ahead and kept covered. Nothing else here waits.

Carbonation is the thing that does not survive scaling. There is no version of this drink that can be built in a pitcher — tonic poured into a large vessel and then portioned out arrives flat, and the layering that makes it worth ordering is impossible above one glass. If you are serving several, the honest approach is to line up the glasses with ice and peel already cut, then build them one at a time from a bottle that has stayed cold. That takes about forty seconds each.